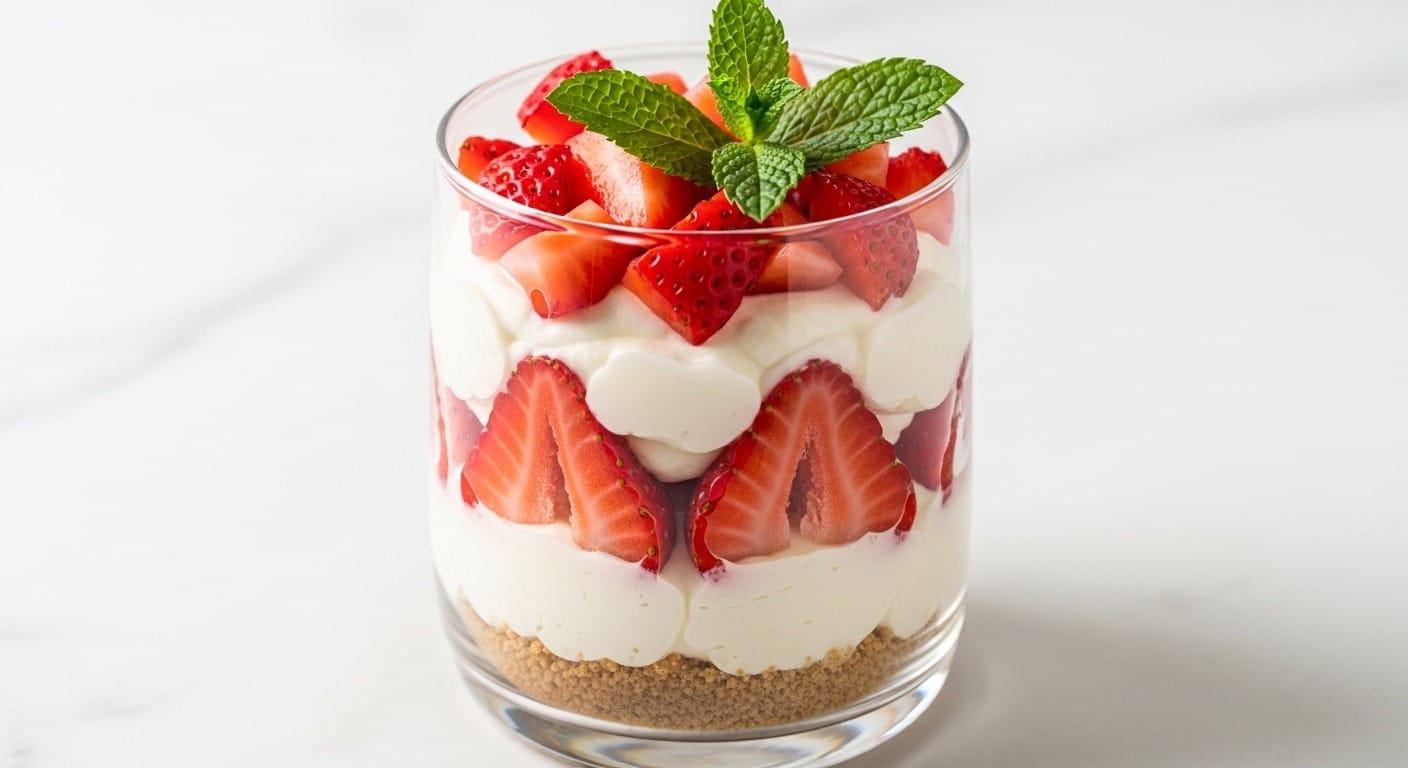
My cousin showed up last weekend with zero notice, and I had exactly 20 minutes before she arrived. I threw together these no-bake strawberry cheesecake cups, and she thought I’d been planning her visit for days. That’s the magic here – they look fancy, taste incredible, and require absolutely no baking skills or oven time.
These individual strawberry cheesecake cups are perfect when you need something sweet fast. The graham cracker base gives you that classic cheesecake crunch, the cream cheese filling is smooth and tangy, and fresh strawberries add brightness. You can make them in regular glasses, mason jars, or those fancy dessert cups if you’re feeling extra. Either way, they’re done before your oven would even finish preheating.
Why These Cups Work Every Single Time
I’ve made plenty of desserts and sweet treats that looked simple but turned complicated real quick. These strawberry cheesecake parfait cups are genuinely foolproof. No water baths, no worrying about cracks, no waiting for something to set overnight in the fridge.
Tired of Deciding What to Cook Every Night?
I’ve put together a simple 7-day dinner meal plan using my most-loved recipes — complete with a grocery list and flexible swaps.
Just $2.99 – Instant Download
Get the Meal PlanThe cream cheese whips up in minutes if it’s softened properly. That’s honestly the only thing you need to plan ahead for – leave it on the counter for an hour before you start. Everything else is just mixing, layering, and chilling. Kids can help with the assembly, which makes this recipe even better when you need to keep little hands busy.
The portion control is built right in. Nobody’s cutting uneven slices or going back for seconds they didn’t really want. Each person gets their own perfectly sized serving, and somehow that makes the whole dessert feel more special.
What You’ll Need
For the Graham Cracker Crust:
- 1 cup (120g) graham cracker crumbs (about 8-9 full crackers)
- 3 tbsp (42g) unsalted butter, melted
- 1 tbsp (12g) granulated sugar
- Pinch of salt
For the Cream Cheese Filling:
- 8 oz (226g) cream cheese, softened to room temperature
- 1/2 cup (100g) granulated sugar
- 1 tsp vanilla extract
- 1 cup (240ml) heavy whipping cream, cold
- 2 tbsp (16g) powdered sugar
For the Strawberry Topping:
- 2 cups (300g) fresh strawberries, hulled and sliced
- 2 tbsp (25g) granulated sugar
- 1 tsp lemon juice
Note: If you can’t find graham crackers, vanilla wafer cookies or digestive biscuits work perfectly. For a richer filling, substitute half the heavy cream with mascarpone cheese.
Step-by-Step Instructions
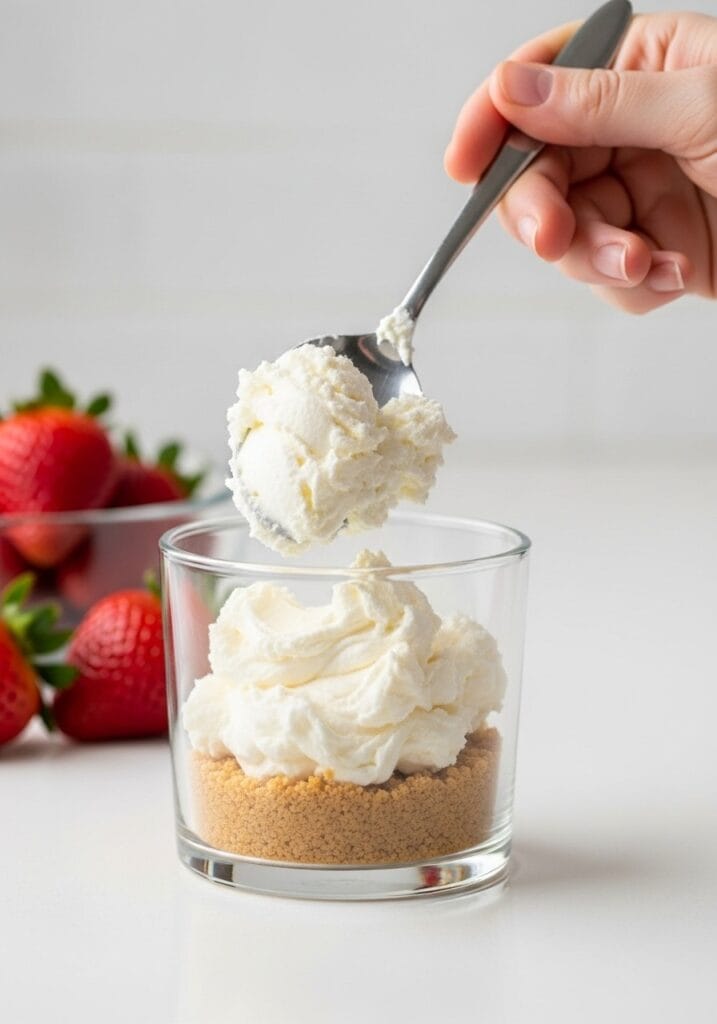
Prep the Graham Cracker Base
- Crush graham crackers in a food processor until they become fine crumbs.
- Transfer crumbs to a medium bowl.
- Pour melted butter over the crumbs.
- Add sugar and salt.
- Mix with a fork until the mixture looks like wet sand and clumps when pressed.
- Divide the mixture evenly among 6 serving cups (about 2-3 tablespoons per cup).
- Press down firmly with the back of a spoon or a small glass.
- Place cups in the refrigerator while you make the filling.
Make the Cream Cheese Filling
- Beat softened cream cheese in a large bowl with an electric mixer on medium speed for 2 minutes until smooth and fluffy.
- Add granulated sugar and vanilla extract.
- Beat for another minute until well combined and no lumps remain.
- In a separate bowl, whip cold heavy cream with powdered sugar on high speed until stiff peaks form (3-4 minutes).
- Gently fold one-third of the whipped cream into the cream cheese mixture to lighten it.
- Fold in the remaining whipped cream in two additions, being careful not to deflate the mixture.
- The filling should be light, fluffy, and hold its shape.
Prepare the Strawberries
- Place sliced strawberries in a bowl.
- Sprinkle with sugar and lemon juice.
- Toss gently to combine.
- Let sit for 10 minutes to release juices and create a light syrup.
Assemble the Cups
- Remove cups from the refrigerator.
- Spoon or pipe the cream cheese filling over the graham cracker base, filling each cup about three-quarters full.
- Smooth the tops with the back of a spoon.
- Top each cup with a generous amount of macerated strawberries and their juices.
- Refrigerate for at least 1 hour before serving (or up to 24 hours if making ahead).
Tips for Perfect Cheesecake Cups
The cream cheese temperature matters more than you’d think. Cold cream cheese will leave lumps no matter how long you beat it. I usually set mine out right after breakfast if I’m making these for an afternoon gathering.
Don’t skip macerating the strawberries. Those 10 minutes transform regular berries into something that tastes almost like strawberry sauce. The sugar pulls out the natural juices, and the lemon juice brightens everything up. If you’re short on time, you can skip this step, but the flavor won’t be quite as developed.
For cleaner layers, use a piping bag or a ziplock bag with the corner snipped off to add the cream cheese filling. It’s faster than spooning and looks more professional. Though honestly, rustic and homemade-looking is perfectly fine too – these strawberry cheesecake mini cups taste amazing either way.
If you’re making these more than a few hours ahead, wait to add the strawberries until about 30 minutes before serving. The berries can release too much liquid and make the filling slightly watery if they sit too long. The base and filling hold up beautifully overnight though.
Recipe Notes & Substitutions
You can use frozen strawberries if fresh ones aren’t available, but thaw and drain them really well first. The excess liquid can make everything soggy. Blueberries, raspberries, or mixed berries work great too. Sometimes I’ll do half strawberries and half blueberries for a patriotic look.
For a chocolate version, add 3 tablespoons of cocoa powder to the cream cheese filling and use chocolate graham crackers for the base. My nephew requests this version every time he visits.
Greek yogurt can replace up to half of the cream cheese if you want to lighten things up, but the texture will be slightly less rich. I’ve done this for brunch gatherings, and people still loved them.
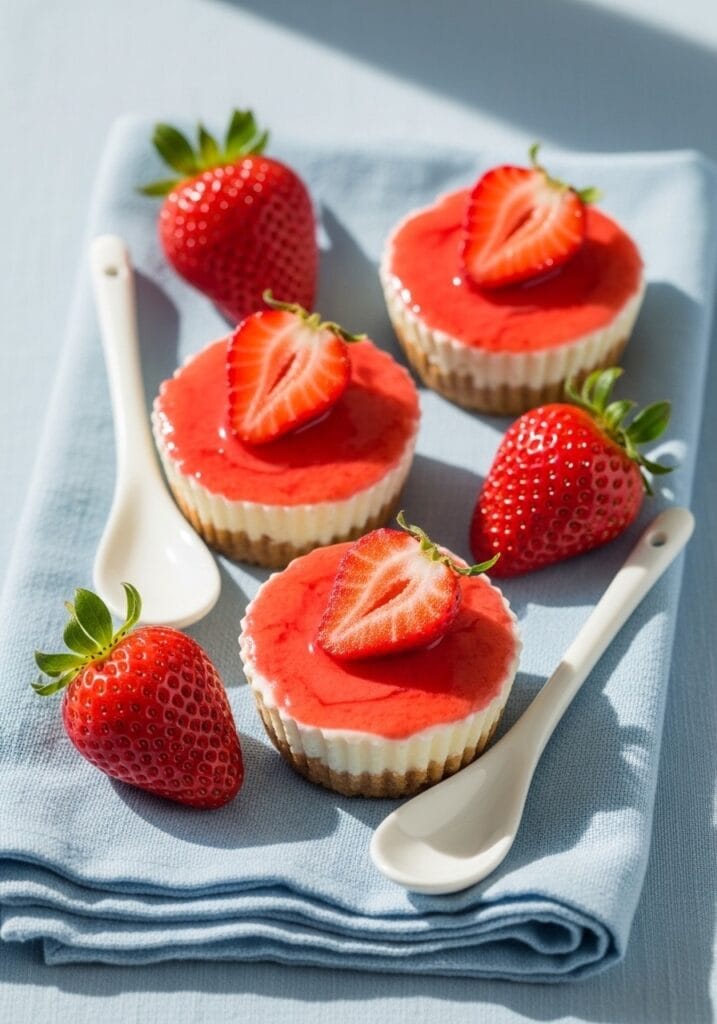
The recipe easily doubles or triples. I’ve made 20 cups at once for a party, and it took maybe 45 minutes total. Just make sure you have enough fridge space to chill them allImage Prompt: A styled dessert spread showing three individual strawberry cheesecake cups alongside fresh whole strawberries and small white dessert spoons, arranged on a light blue linen napkin with soft afternoon sunlight creating gentle shadows.
Serving & Storage
These cups are best served cold, straight from the fridge. I usually let them sit out for about 5 minutes before serving so the filling isn’t rock-hard cold, but that’s totally optional.
They’ll keep covered in the refrigerator for up to 3 days, though the crust might soften slightly after the first day. If you’re serving them at a party, you can prep everything the night before and just add the strawberries right before guests arrive.
For gifting, these transport surprisingly well in a shallow box or carrier. I’ve brought them to potlucks without any disasters. Just keep them upright and refrigerated until serving time.
Why This Recipe Beats Traditional Cheesecake
Traditional cheesecake requires planning. You need to bake it, let it cool, chill it overnight, and hope it doesn’t crack. These no-bake strawberry cheesecake cups skip all that stress. The no-bake method means you can decide at 2 PM that you want dessert by 4 PM and actually make it happen.
The individual serving format also means no messy slicing. Ever tried to cut a perfect slice of cheesecake? It’s harder than it looks. These cups come pre-portioned, which makes serving a crowd so much easier. Similar to strawberry shortcake mousse jars, the presentation is already done for you.
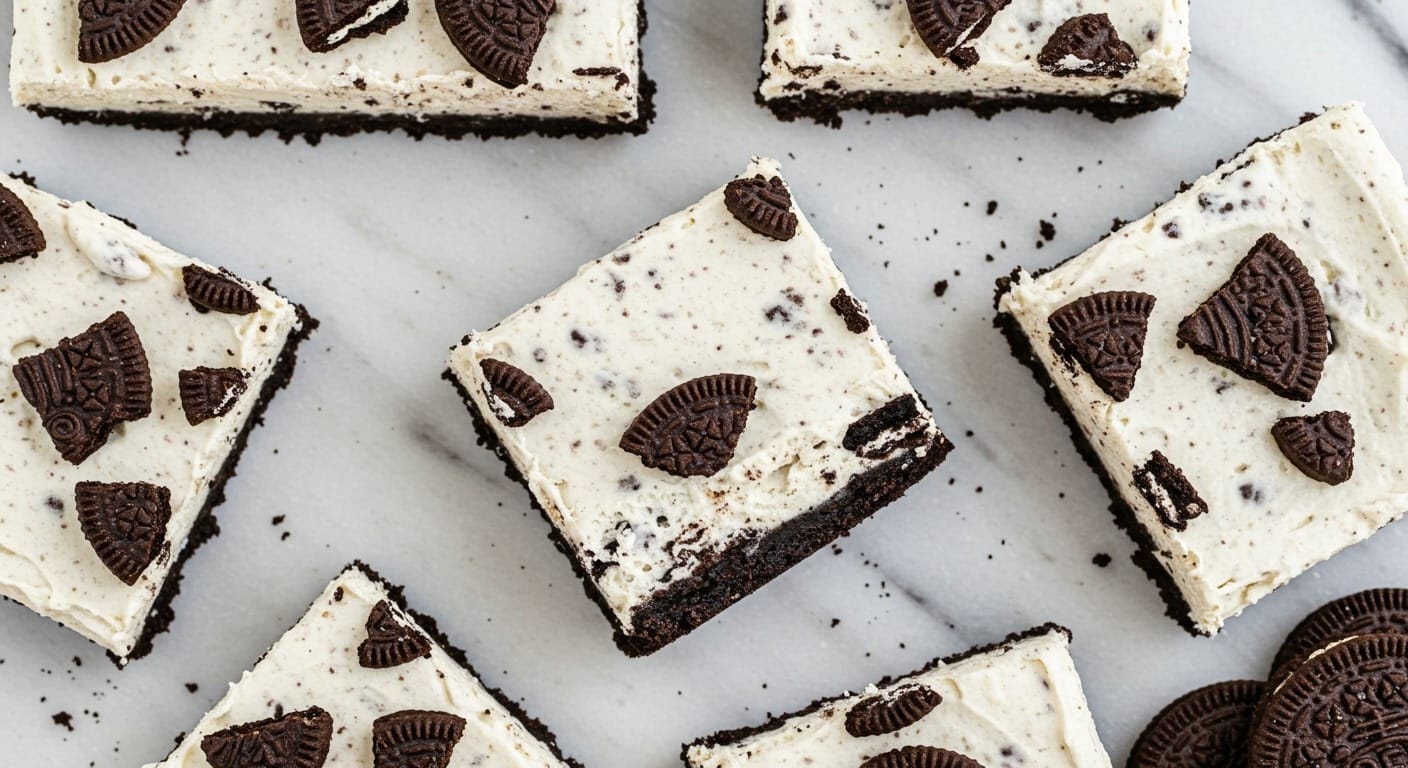
If you love easy desserts that don’t require an oven, you might also enjoy no-bake Oreo cheesecake bars or lemon raspberry cream cheese bars. Both have that same creamy, satisfying texture without any baking required.
Recipe Information:
- Yield: 6 individual cups
- Prep Time: 20 minutes
- Chill Time: 1 hour minimum
- Total Time: 1 hour 20 minutes
- Difficulty Level: Easy (beginner-friendly)
- Equipment Needed: Electric mixer, mixing bowls, 6 clear glasses or dessert cups (8-10 oz each), measuring cups and spoons
These no-bake strawberry cheesecake cups have become my default when I need something impressive but don’t have much time. They work for birthday parties, casual dinners, or those random Tuesday nights when you just want something sweet. The best part? Nobody ever guesses how simple they actually were to make.
Still wondering what to cook tomorrow? Take the stress out of dinner with my simple 7-day meal plan.
Get the 7-Day Meal Plan for $2.99