My grandmother’s kitchen counter every December looked like Santa’s workshop exploded – flour everywhere, cookie cutters scattered, and that unmistakable smell of butter and vanilla filling every corner. I’d sneak warm cookies before they cooled, burning my fingers but never caring. Those memories? They started with one simple recipe.
Easy Christmas sugar cookies aren’t just about baking. They’re about creating traditions, bringing families together, and yes, eating way too much cookie dough when no one’s looking. This recipe takes about 2 hours total (including chilling time), works for complete beginners, and creates cookies that are buttery, tender, and hold their shape beautifully whether you’re making christmas tree sugar cookies or classic ornament shapes.
Why This Recipe Works
Most sugar cookie recipes either spread into shapeless blobs or turn out hard as hockey pucks. This one hits that sweet spot – literally. The ratio of butter to flour creates cookies that are tender but sturdy enough to decorate. No fancy equipment needed, just basic kitchen tools and about 30 minutes of active work.
Tired of Deciding What to Cook Every Night?
I’ve put together a simple 7-day dinner meal plan using my most-loved recipes — complete with a grocery list and flexible swaps.
Just $2.99 – Instant Download
Get the Meal PlanThe dough chills for an hour, which isn’t just downtime. That rest period lets the flour fully hydrate and the butter firm up, giving you cookies that bake evenly and maintain their adorable shapes. Plus, chilled dough is way easier to roll out without sticking.
Want to make sugar cookies christmas morning? Prep the dough the night before. It keeps in the fridge for up to 3 days, or freeze it for a month. Just thaw overnight before rolling.
Ingredients You’ll Need
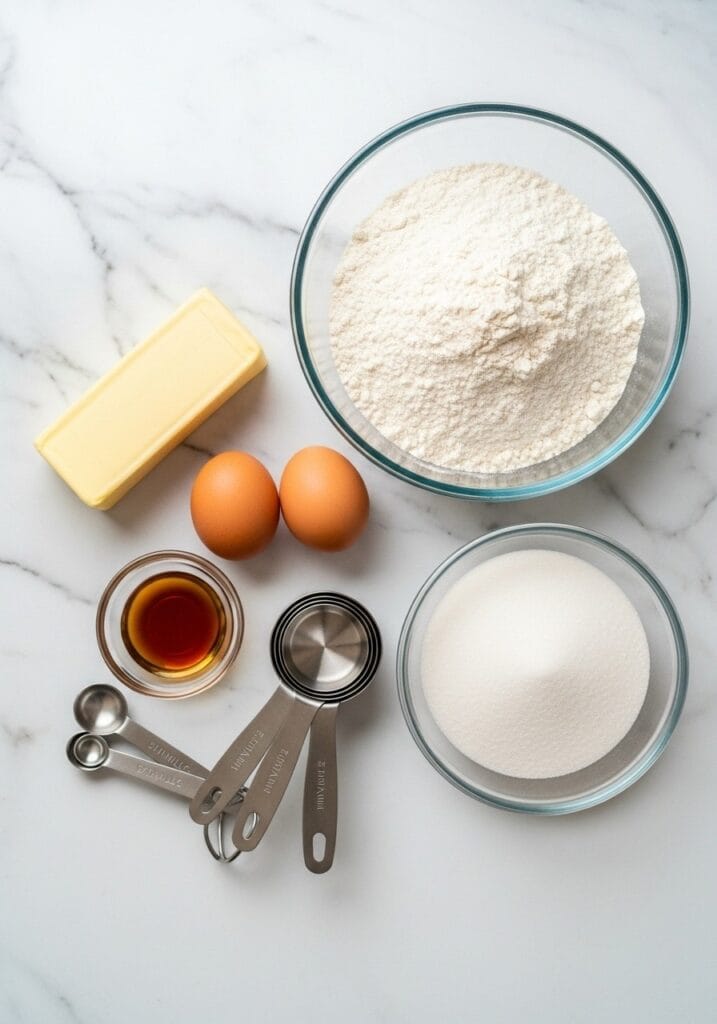
For the Cookie Dough:
- 340g (3 cups) all-purpose flour
- 1 tsp baking powder
- 1/2 tsp salt
- 226g (1 cup) unsalted butter, room temperature
- 200g (1 cup) granulated sugar
- 1 large egg, room temperature
- 2 tsp pure vanilla extract
- 1/2 tsp almond extract (optional, adds depth)
For the Royal Icing (Optional):
- 450g (4 cups) powdered sugar, sifted
- 3 tbsp meringue powder
- 6-8 tbsp water
- Food coloring (gel works best)
Substitutions: Can’t find meringue powder? Use 2 egg whites instead. No almond extract? Double the vanilla. For sugar free christmas cookies, swap granulated sugar with erythritol (1:1 ratio), though texture will be slightly different.
Essential Equipment
You probably have most of this already:
- Stand mixer or hand mixer
- Rolling pin
- Cookie cutters (3-4 inch shapes work best)
- Baking sheets (2-3 for efficiency)
- Parchment paper or silicone mats
- Wire cooling racks
Pro tip: Chill your cookie cutters for 10 minutes before using. Cold cutters cut cleaner edges.
Step-by-Step Instructions

Step 1: Whisk together 340g flour, 1 tsp baking powder, and 1/2 tsp salt in a medium bowl. Set aside. This dry mixture ensures even distribution of leavening.
Step 2: Beat 226g room temperature butter in a large bowl with a mixer on medium speed for 2 minutes until creamy and pale. Room temperature matters – butter should leave a slight indent when pressed but not be greasy.
Step 3: Add 200g sugar to the butter. Beat on medium-high for 3-4 minutes until light and fluffy, scraping down the bowl halfway through. This creaming process adds air for tender cookies.
Step 4: Mix in 1 egg, 2 tsp vanilla extract, and 1/2 tsp almond extract (if using) on low speed until just combined. Don’t overmix or cookies become tough.
Step 5: Add the flour mixture in three additions, mixing on low speed after each addition until just incorporated. Dough will look slightly crumbly but will come together when pressed.
Step 6: Turn dough onto a clean surface. Knead gently 3-4 times until smooth. Divide into two equal discs, wrap tightly in plastic wrap, and refrigerate for 1 hour minimum (or up to 3 days).
Step 7: Preheat oven to 175°C (350°F). Line two baking sheets with parchment paper. Pull one dough disc from the fridge – keep the other chilled.
Step 8: Roll dough on a lightly floured surface to 6mm (1/4 inch) thickness. Use light, even pressure. Too thin and cookies burn, too thick and centers stay doughy.
Step 9: Cut shapes with cookie cutters, placing them close together to minimize scraps. Transfer carefully to prepared baking sheets, spacing 2 inches apart. Re-roll scraps gently once (twice makes tough cookies).
Step 10: Bake for 9-11 minutes until edges are barely golden. Centers will look slightly underdone – that’s perfect. They firm up while cooling. Rotate pans halfway through for even baking.
Step 11: Cool on baking sheets for 5 minutes, then transfer to wire racks to cool completely before decorating. Warm cookies will melt icing.
Decorating Your Cookies

Here’s where christmas sugar cookies decorated become edible art. Royal icing creates that smooth, professional finish you see on bakery cookies, but buttercream or simple glaze works too.
Royal Icing Method: Beat 450g sifted powdered sugar, 3 tbsp meringue powder, and 6 tbsp water on low speed for 1 minute, then high speed for 5-7 minutes until stiff peaks form. Add water by the teaspoon to adjust consistency. For outlining, you want toothpaste thickness. For flooding, thin until it slowly settles flat.
Divide into bowls and tint with gel food coloring. Gel won’t thin your icing like liquid colors do. Outline cookies first, let dry 15 minutes, then flood the centers. Add details once the base coat dries (usually 4-6 hours).

Not feeling fancy? A simple dusting of colored sugar before baking looks beautiful. Or drizzle melted chocolate over cooled cookies. Sometimes simple wins.
Storage and Make-Ahead Tips
Undecorated cookies stay fresh in an airtight container at room temperature for 5 days, refrigerated for 2 weeks, or frozen for 3 months. Layer between parchment paper to prevent sticking.
Decorated cookies with royal icing keep at room temperature for 1 week in a single layer (stacking smudges designs). Once icing fully hardens (24 hours), you can stack with parchment between layers.
Want to spread out the work? Make dough up to 3 days ahead and keep refrigerated, or freeze for a month. Bake cookies 2-3 days before decorating. Royal icing can be made a week ahead – store in an airtight container at room temperature, re-whip briefly before using.
Troubleshooting Common Issues
Cookies spread too much: Dough wasn’t cold enough. Chill cut shapes on the baking sheet for 15 minutes before baking. Also check your butter wasn’t too soft.
Cookies are hard: Overbaked or too much flour. Measure flour by spooning into cups and leveling, not scooping. Pull cookies when edges barely color.
Dough cracks when rolling: Too cold. Let it sit at room temperature for 5-10 minutes. If it’s been refrigerated overnight, it needs 15-20 minutes to soften slightly.
Shapes lose definition: Dough too warm or oven too hot. Verify oven temperature with a thermometer. Chill cut cookies before baking.
I’ve learned these lessons the hard way, making batches that looked more blob than bell. But that’s the beauty of this recipe – it’s forgiving enough for experiments.
Flavor Variations to Try
The classic vanilla base works for everything, but small tweaks create totally different cookies. Add 1 tsp cinnamon and 1/4 tsp nutmeg for spiced cookies. Swap almond extract for 1 tsp peppermint extract for candy cane vibes. Mix in 2 tbsp lemon zest for bright citrus notes.
For chocolate lovers, replace 40g flour with 40g cocoa powder. You’ll get deep brown cookies perfect for snowmen or gingerbread men shapes. Just like the chocolate treats on our site, rich chocolate makes everything better.
My niece insists on funfetti cookies every year – just fold 3 tbsp rainbow sprinkles into the finished dough. They bake right in and look cheerful without any icing needed.
Pairing Suggestions
These cookies pair beautifully with hot chocolate, coffee, or cold milk (obviously). I love serving them alongside caramel apple crumble skillet for a complete holiday dessert spread. The buttery sweetness complements fruit desserts without competing.
For a full Christmas menu, balance these rich cookies with lighter fare. Maybe a Mediterranean chickpea salad earlier in the day? Or keep dinner simple with sheet pan salmon and veggies so you save room for cookies.
Why Kids Love Making These
Every December, my kitchen fills with small helpers covered in flour. This recipe is genuinely kid-friendly because the dough is easy to handle, rolling is fun, and cookie cutters let them create shapes they recognize. Plus, decorating keeps them busy for hours.
Let kids measure ingredients (with supervision), use the cookie cutters, and go wild with icing colors. Yes, their cookies might look like abstract art, but they’ll beam with pride. And honestly? Those imperfect, overly-sparkled cookies taste just as good as the “perfect” ones.
The dough is safe to eat raw if you’re concerned (though I always recommend baking), since there’s no leavening agent that requires heat activation. Not that I’m encouraging eating raw dough, but we all know it happens.
Nutritional Information
Per cookie (based on 36 cookies, undecorated):
- Calories: 95
- Fat: 5g
- Carbohydrates: 12g
- Protein: 1g
- Sugar: 6g
- Sodium: 45mg
Royal icing adds approximately 40-60 calories per decorated cookie depending on thickness. For a lighter version, reduce sugar to 150g – cookies will be less sweet but still delicious. You could also try making healthy meal alternatives earlier in the day to balance the indulgence.
Final Thoughts
Easy Christmas sugar cookies have been my go-to recipe for eight years now. I’ve made them for school parties, neighbor gifts, and late-night stress baking. They’ve never let me down. The dough is reliable, the flavor is classic, and watching people bite into a beautifully decorated cookie brings pure joy.
Whether you’re making a batch of christmas tree sugar cookies with your kids or preparing sugar cookies christmas gifts for friends, this recipe delivers. It’s simple enough for beginners but impressive enough to gift with pride.
So grab your cookie cutters and make some magic. Your kitchen will smell amazing, your family will gather around, and you’ll create memories that last way longer than the cookies do (which isn’t long, because they’re seriously addictive).
Recipe Summary
Prep Time: 20 minutes Chill Time: 1 hour Cook Time: 10 minutes per batch Total Time: 2 hours Yield: 36 cookies (3-inch cutters) Difficulty Level: Beginner-friendly
Happy baking, and may your cookies be perfectly golden and your decorating adventures be joyfully messy.
Still wondering what to cook tomorrow? Take the stress out of dinner with my simple 7-day meal plan.
Get the 7-Day Meal Plan for $2.99